How To Run YOLOR Object Detection in Google Colab
Apr 01, 2022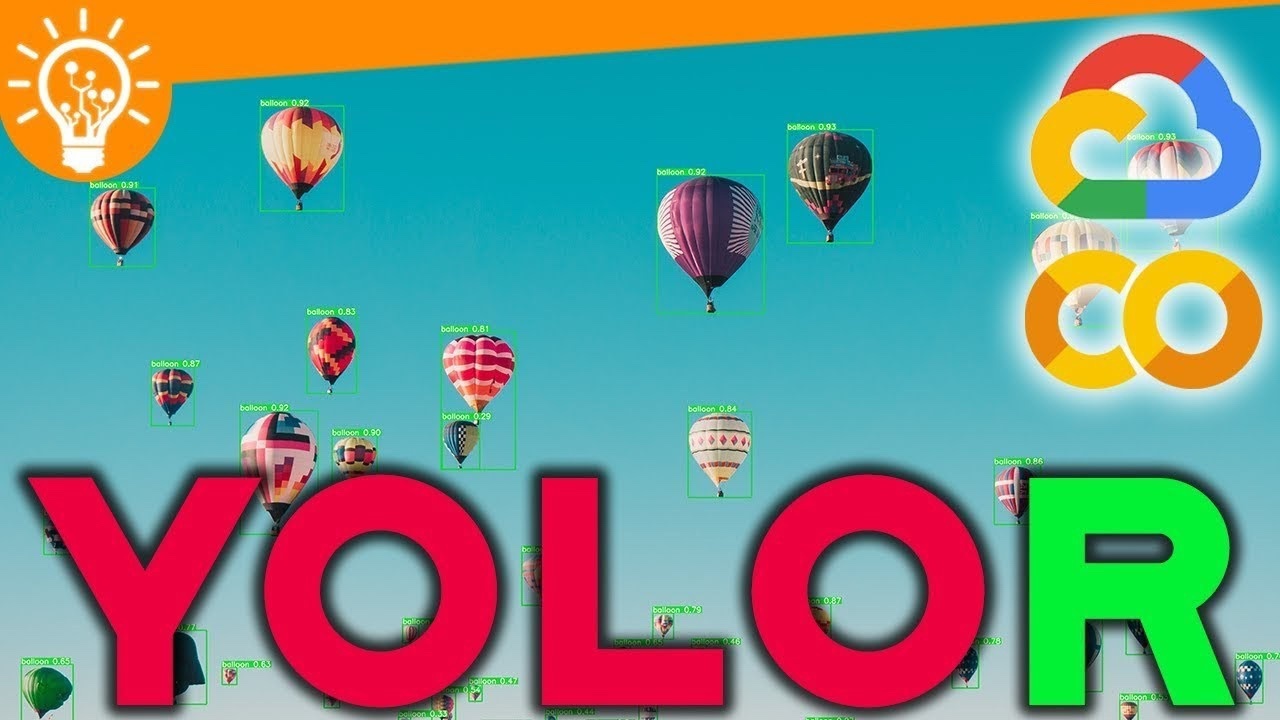
YOLOR, You Only Learn One Representation, is a state-of-the-art object detection model that is 88% faster than Scaled-YOLOv4 and 3.8% more accurate than PP-YOLOV2. This makes it the best YOLO variant to date. YOLOR has a unified network that models how humans learn things variably, some consciously, some subconsciously. This new approach to learning representations enables YOLOR’s unified network to be very effective at multi-task learning. Simply put, this means that a YOLOR model trained for one task can utilize its subconscious knowledge to perform a wide range of tasks.
In addition, it can be easily extended to multi-model learning like OpenAI’s CLIP. This allows YOLOR to develop its implicit knowledge even further and use other mediums of data such as audio and text. Now, you might be thinking what’s all this “implicit knowledge” and “subconsciousness” stuff?
Don’t worry it’s nothing related to spirituality. You can get a better understanding of exactly what all this means and how YOLOR works in our awesome breakdown of YOLOR’s research paper and architecture. Read it here.
In this tutorial we’ll do the following:
- Install YOLOR and its dependencies on Colab
- Run it on an image
- Run it on a video
Setting Up YOLOR On Colab
We are going to do all of this on Colab, so you can either create a new notebook of your own or get the base notebook here. If you prefer video tutorials you can follow our YouTube Tutorial for the same.
So with all that out of the way, let’s get started! The first thing we are going to do is mount our Google Drive to Colab so we have persistent storage just in case we get disconnected in the middle of things.
from google.colab import drivedrive.mount(‘/content/drive’)This will prompt a link for signing into your Google account, when you sign in you’ll get the authorization code required for mounting your Drive to Colab. Now we can get started with setting up YOLOR for inference, first of all, let’s clone the YOLOR GitHub repo and navigate into the newly-created directory.
!git clone https://github.com/augmentedstartups/yolor%cd yolor
From within the directory, we will install the requirements.
!pip install -qr requirements.txt
Once that’s finished we’ll need to install two more things before we can run the model:
- Mish-Cuda: The PyTorch CUDA implementation of the self-regularized mish activation function
- PyTorch Wavelets: Python module for computing 2D discrete wavelet and the 2D dual-tree complex wavelet transforms using PyTorch.
You need not concern yourself with the details of these requirements unless you want to tinker with the architecture of YOLOR. Just ensure that both of these are installed inside the yolor directory.
# Installing Mish CUDA
!git clone https://github.com/JunnYu/mish-cuda%cd mish-cuda!python setup.py build install# Moving back to the yolor directory%cd ..# Installing PyTorch Wavelets!git clone https://github.com/fbcotter/pytorch_wavelets%cd pytorch_wavelets!pip install .
Now that we have set everything up, all we need to do is download the pre-trained models using the bash script provided in the scripts sub-directory.
!bash scripts/get_pretrain.sh
Making Inference With YOLOR
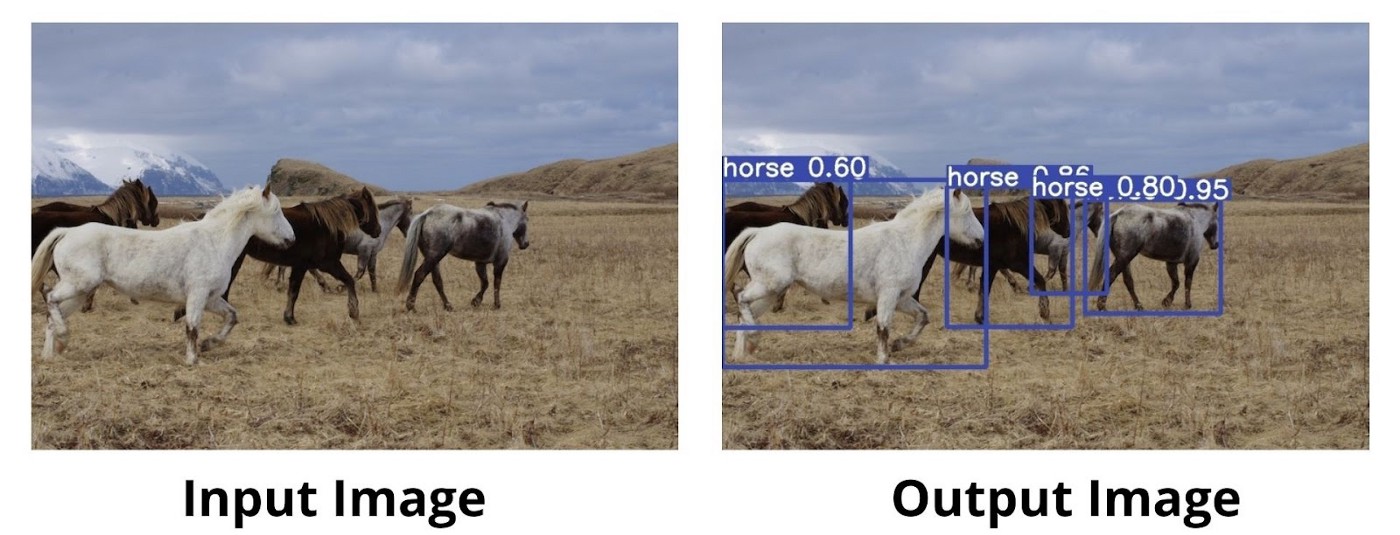
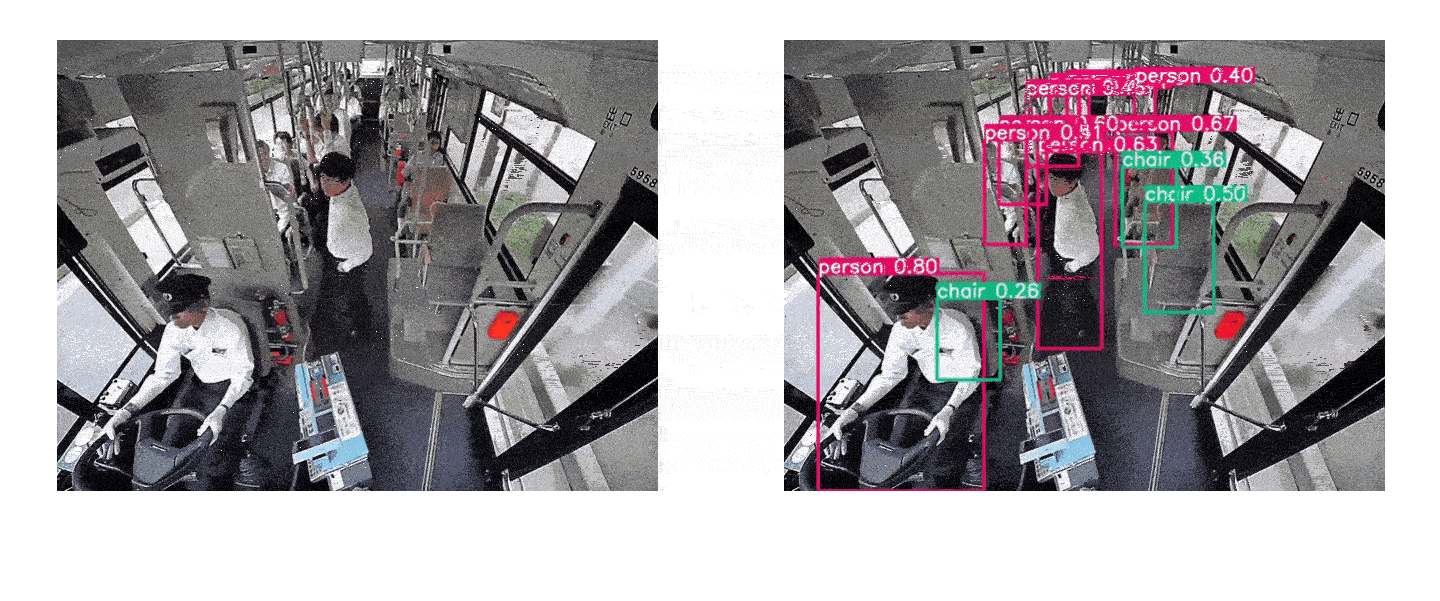
With that; the setup is complete and we can finally use the models to detect objects in images/videos. Let’s start with images, the repo already had one image for testing but you can always upload your own. Make sure to edit the — source option to the path of the image you want to use, and the — output option to specify where you want the output image to be stored.
!python detect.py — source inference/images/horses.jpg — cfg cfg/yolor_p6.cfg — weights yolor_p6.pt — conf 0.25 — img-size 1280 — device 0 — output /content/drive/MyDrive/YOLOR-Output
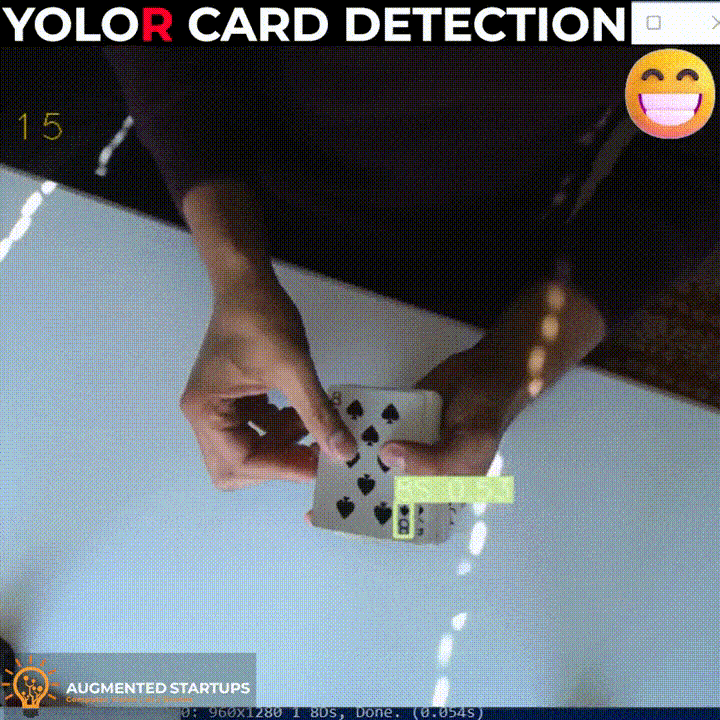
To make inference on videos, all you need to do is pass the path to a video to the — source option.
!python detect.py — source test.mp4 — cfg cfg/yolor_p6.cfg — weights yolor_p6.pt — conf 0.25 — img-size 1280 — device 0 — output /content/drive/MyDrive/YOLOR-Output
Feel free to play around with the confidence ( — conf) value and different YOLOR variants. Just keep in mind that you’ll need to change both the config file (— cfg) and the weights ( — weights) options.
If you have any trouble with code or simply don’t want to code you can get the final notebook with the working implementation from the vision store here.
Do you want to learn more about YOLOR and how it can be used to make awesome computer vision applications like the one shown above? Enroll in our YOLOR course HERE today! It is a comprehensive course on YOLOR that covers YOLOR and object detection fundamentals, implementation, and building various applications, as well as integrating models with a StreamLit UI for building your own YOLOR web apps.
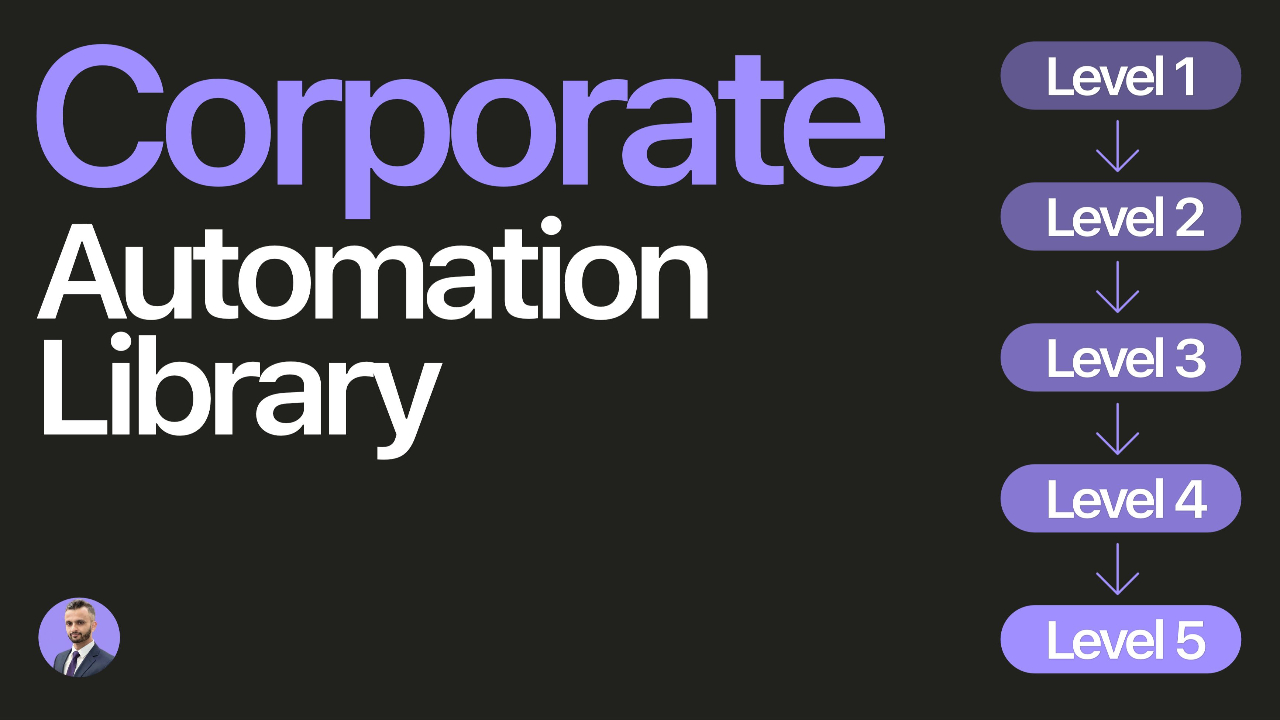
From 80-Hour Weeks to 4-Hour Workflows
Get my Corporate Automation Starter Pack and discover how I automated my way from burnout to freedom. Includes the AI maturity audit + ready-to-deploy n8n workflows that save hours every day.
We hate SPAM. We will never sell your information, for any reason.